We (by we, I mean my husband) recently completed a master bathroom remodeling project. He removed everything except the toilet and set out to create the bathroom of my dreams in the same small space, and on a budget. We decided that we would splurge on just one component, a frame-less glass surround for the shower like we have seen in hotels. Beyond that, we were going to find stock items and keep costs as low as possible.
1. Tile
Tile selection today is incredible. We were both like kids in a candy store (or me in a shoe store) when we started out. After trying many samples in assorted colors and finishes, we decided to get the best quality porcelain tile we could afford in a neutral tone. Then we would add a contrast trim in something fancier. The fancy accent tiles can cost well upwards of $25 per square foot but we found this beautiful pebble tile for just $10 a square foot. Tile prices vary greatly. Once we knew what we were looking for, I shopped around in stores and online. Be sure to keep shipping costs in mind when buying online. Even with shipping costs, we saved a considerable amount of money buying from http://design-4-less.com/ and http://www.wayfair.com/Floor-and-Wall-Tile-l2970-c431627-O46375~Daltile.html
Order a sample if you are not sure, colors look very different in different lighting. It doesn't take much contrast tile to make a big design statement!
2. Double Sinks
Our original bathroom had one 4 foot long cabinet with a single sink set on a 7 foot wall. I have always wanted double sinks but 7' is not a standard cabinet size. Rather than the very expensive custom cabinets and sinks, we found these at Home Depot:
The set included the cabinet, sink top and mirror. So, we bought two and joined them with a shelf made from the shelf that was supplied for inside the cabinet. Now towels are stored between the two cabinets.
For the top shelf, we used the pebble tile and added some shells and sea glass for interest. Each cabinet/sink/mirror set was just $300, saving a considerable amount over custom.
3. Lighting
Traditionally, bar lights are featured for bathroom use. My husband, very talented in imagining lighting, opted for pendant lighting which adds a very fresh, finished feeling. I was concerned about the quality of light but it is, in fact, fabulous. We choose two basic fixtures for the sinks and a shell accents light to accentuate the center.
4. Mirrors
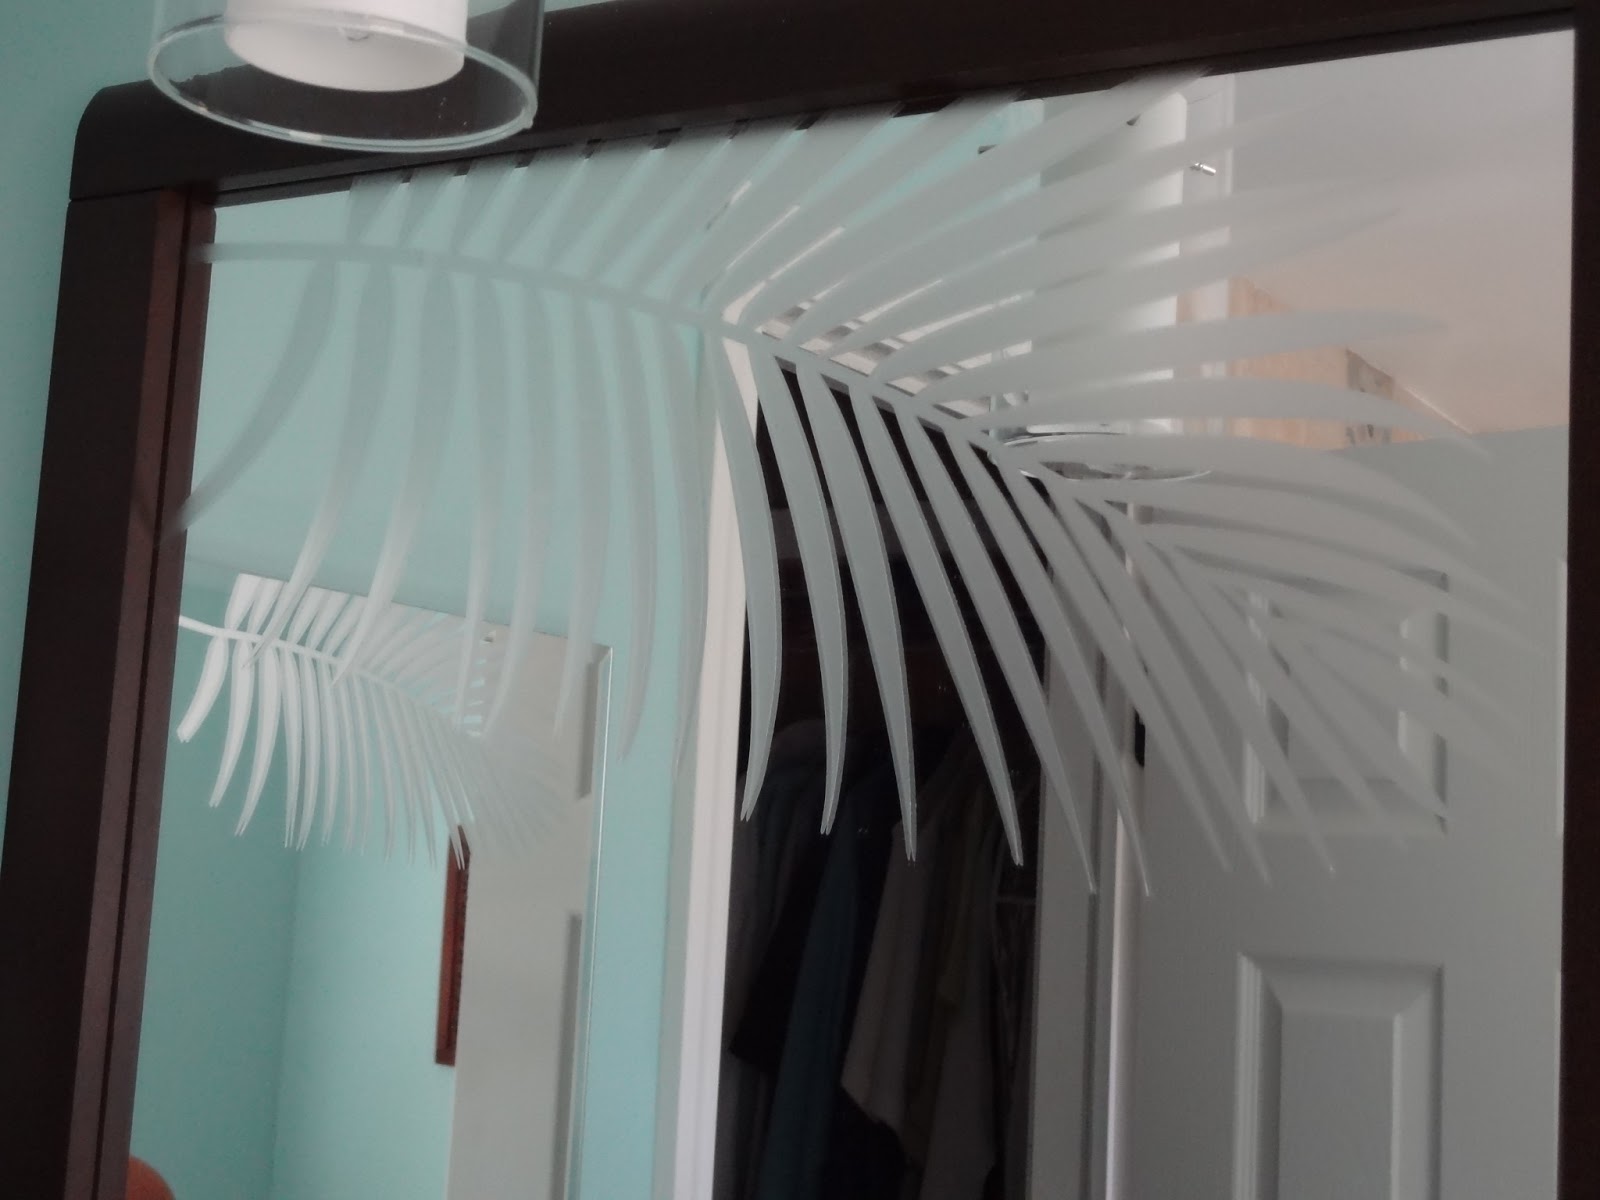
The mirrors were included with the cabinets so, of course, we wanted to use them. A bit plain, I added decals that I cut from etched-look vinyl to give the look of an expensive etched mirror without the expense or commitment. A simple palm leaf adds a breezy feeling to the room.
5. Whimsy
We like to incorporate our love of the beach, ocean and all things water. We added sand from a recent trip to Florida to these inexpensive frames and placed some of the shells we found.
By being creative and seeking out stock items, we save a ton of money but still finished with the bathroom of my dreams!
Showing posts with label DIY: Home Decor. Show all posts
Wednesday, June 5, 2013
Tuesday, May 28, 2013
When a Tool Box is Better Than a Picnic Basket
We are blessed to live very near a beach and much of our summer is spent there. For years, I have struggled with every sort of picnic basket and large plastic bin for our cookout supplies. We cook out at the beach often and need matches, plastics, foil, silverware, all kinds of stuff. When we store it in a large bin, we have to sift through all the stuff trying to find what we need, and it's almost always at the very bottom. Inspiration struck at Home Depot when I saw the large tool boxes. I begged to buy one ($15) but my husband assured me he had one he wasn't using. Sure you do ...
Actually, he did. Here's the before:
ick.
So I filled it with everything we need on a regular basis. It all fit beautifully, especially the top tray for the small things that always get lost. But it was still a little tool-y looking. So I got to work with my trusty vinyl cutter and, voila! We have a cook, organized, easy to transport box with our cookout supplies.
I think this will make a fabulous gift as well, very cool and very personal. Yay!
Actually, he did. Here's the before:
ick.
So I filled it with everything we need on a regular basis. It all fit beautifully, especially the top tray for the small things that always get lost. But it was still a little tool-y looking. So I got to work with my trusty vinyl cutter and, voila! We have a cook, organized, easy to transport box with our cookout supplies.
I think this will make a fabulous gift as well, very cool and very personal. Yay!
Tuesday, May 14, 2013
The Kid's Table: Make it THE Place to Sit!
To escape the stigma of the "kid's table," I decided to decorate this scaled-down table and chairs to make it the special place to sit for the little ones.
I started with an unfinished wood, child-sized table and chairs. I bought them at JoAnn's and assembly was required. The good news, the entire set was less than $50.
I decided on a leafy jungle theme. I am somewhat artistic but this design was super easy.
I started with an idea sketched on the table with pencil. The design consisted of varying sizes and shapes of leaves in different shades of green. Acrylic craft paint works fine. I used brown and tan for the monkey (or humkey, as Jack calls it), yellow for the bananas and two shades of red for the flowers. I use paper plates to mix paint. I looked around online for cartoon images as inspiration for the monkey and bananas.
For a design like this, it's best to paint the back, dark color first. The only area I left unpainted was the monkey because I was afraid the dark green would show through the light tan. I painted the table top and chair backs and legs with two coats of dark green acrylic craft paint.
For the leaves, I found some leaf designs on the internet and printed them as large as I wanted.
I used chalk to coat the back of the leaf image then turned it over and traced the leaf. Repeat with various sizes and shapes of leaves. The chalk wipes right off the surface for easy clean-up.
To keep the design simple and graphic, each leaf was a solid color, no shading. Overlapping leaves enhances the design, just be sure the lowest paint level is completely dry before moving on. The uppermost layers were the lightest shades of green. I used small leaves scattered on the chairs.
Next, I painted the shapes for the monkey and the bananas. To define them, I sued a Sharpie market to outline the shapes. I messed up a few times and painted over until I had it how I wanted.
For the chair seats, I sketched a large hibiscus using a photo from the internet. Again, using paper plates for mixing, I used a bright red and shaded with a darker red. I drew the style with a Sharpie then added yellow paint for the pollen sacs. Don't worry, it looks great from a distance even if imperfect up close.
I found that using large scale elements, even on a kid-sized table, gives the coolest look.
Once all painting was complete and thoroughly dry, I applied three coats of water-based sealant. For the finishing touch, I cut a section of raffia grass skirt material and hot glued it to the underside of the table like a table skirt.
I admit, these elements are likely not found together in a jungle, but this table and chairs have become the hot seat when kids come to our house!
Subscribe to:
Posts (Atom)